Introduction
This detailed technical guide explains how to recover data from a NETGEAR ReadyNAS NV+ v2 (model RND4000-200NAS) that has failed to boot or is no longer discoverable on the network. The process uses Linux tools such as mdadm, LVM2, and fuseext2 to reconstruct and mount an X-RAID2 array without the original NAS hardware.
Physical Drive Connection and Hardware Requirements
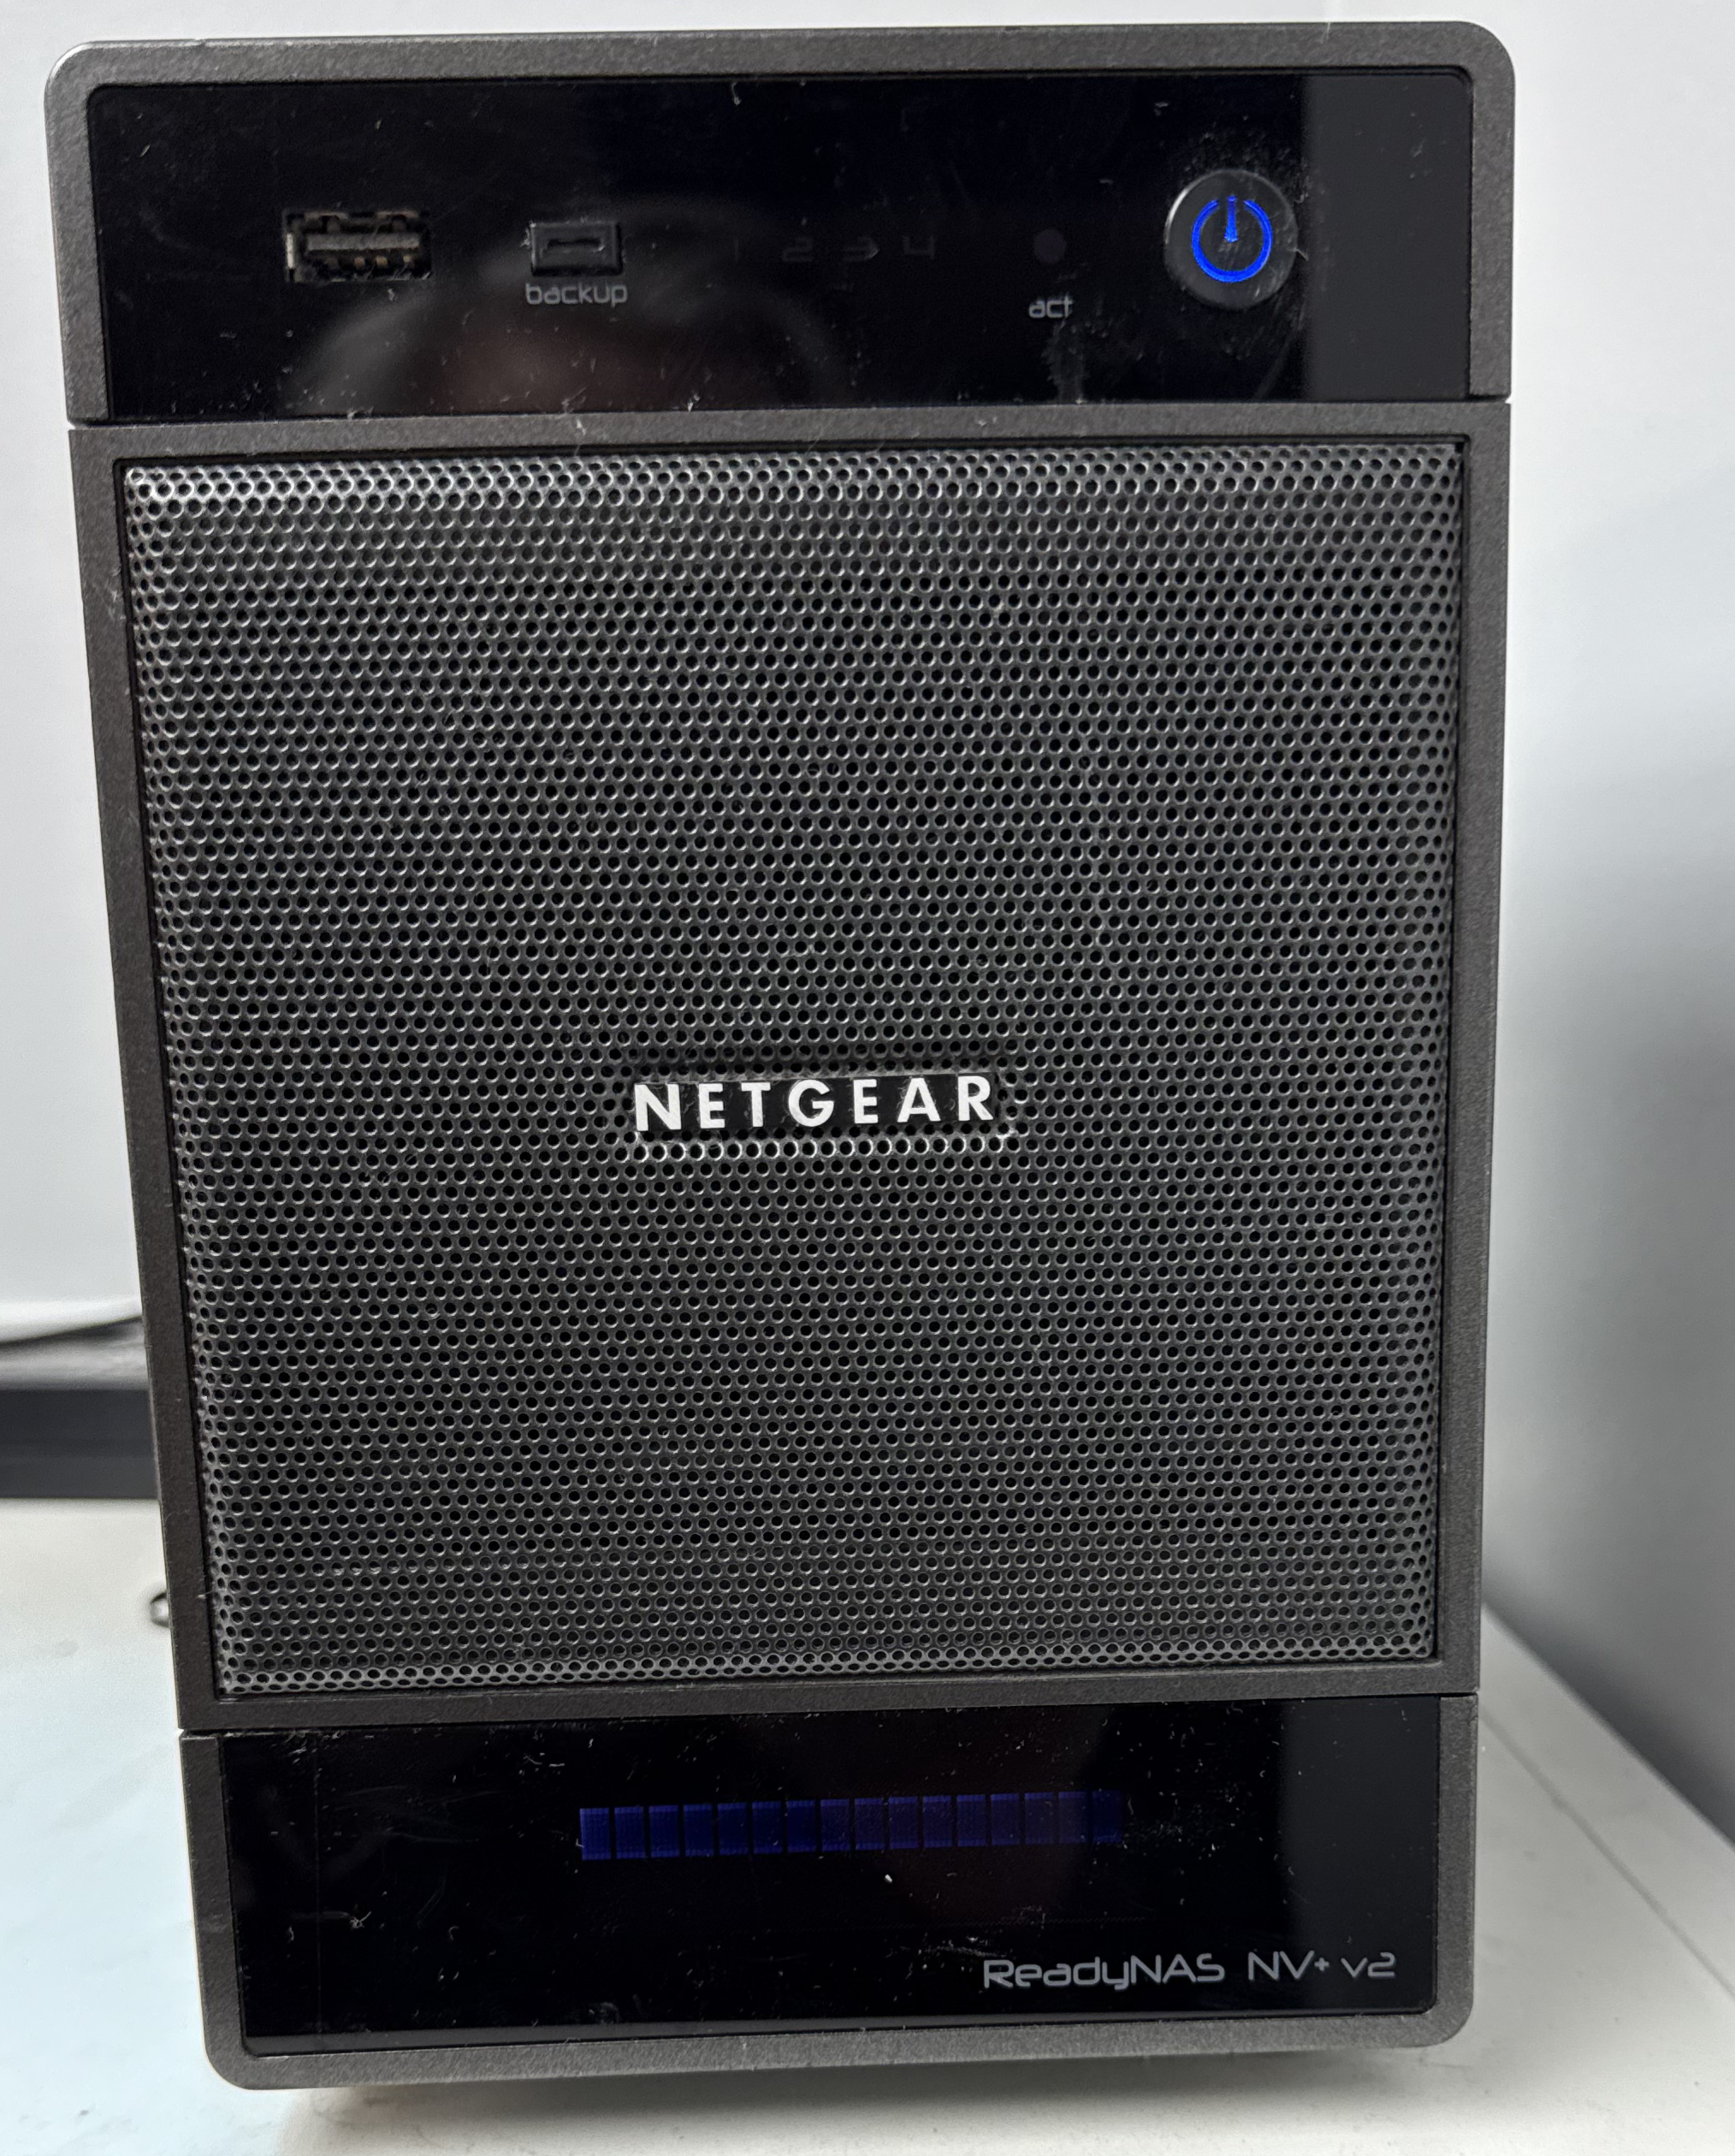
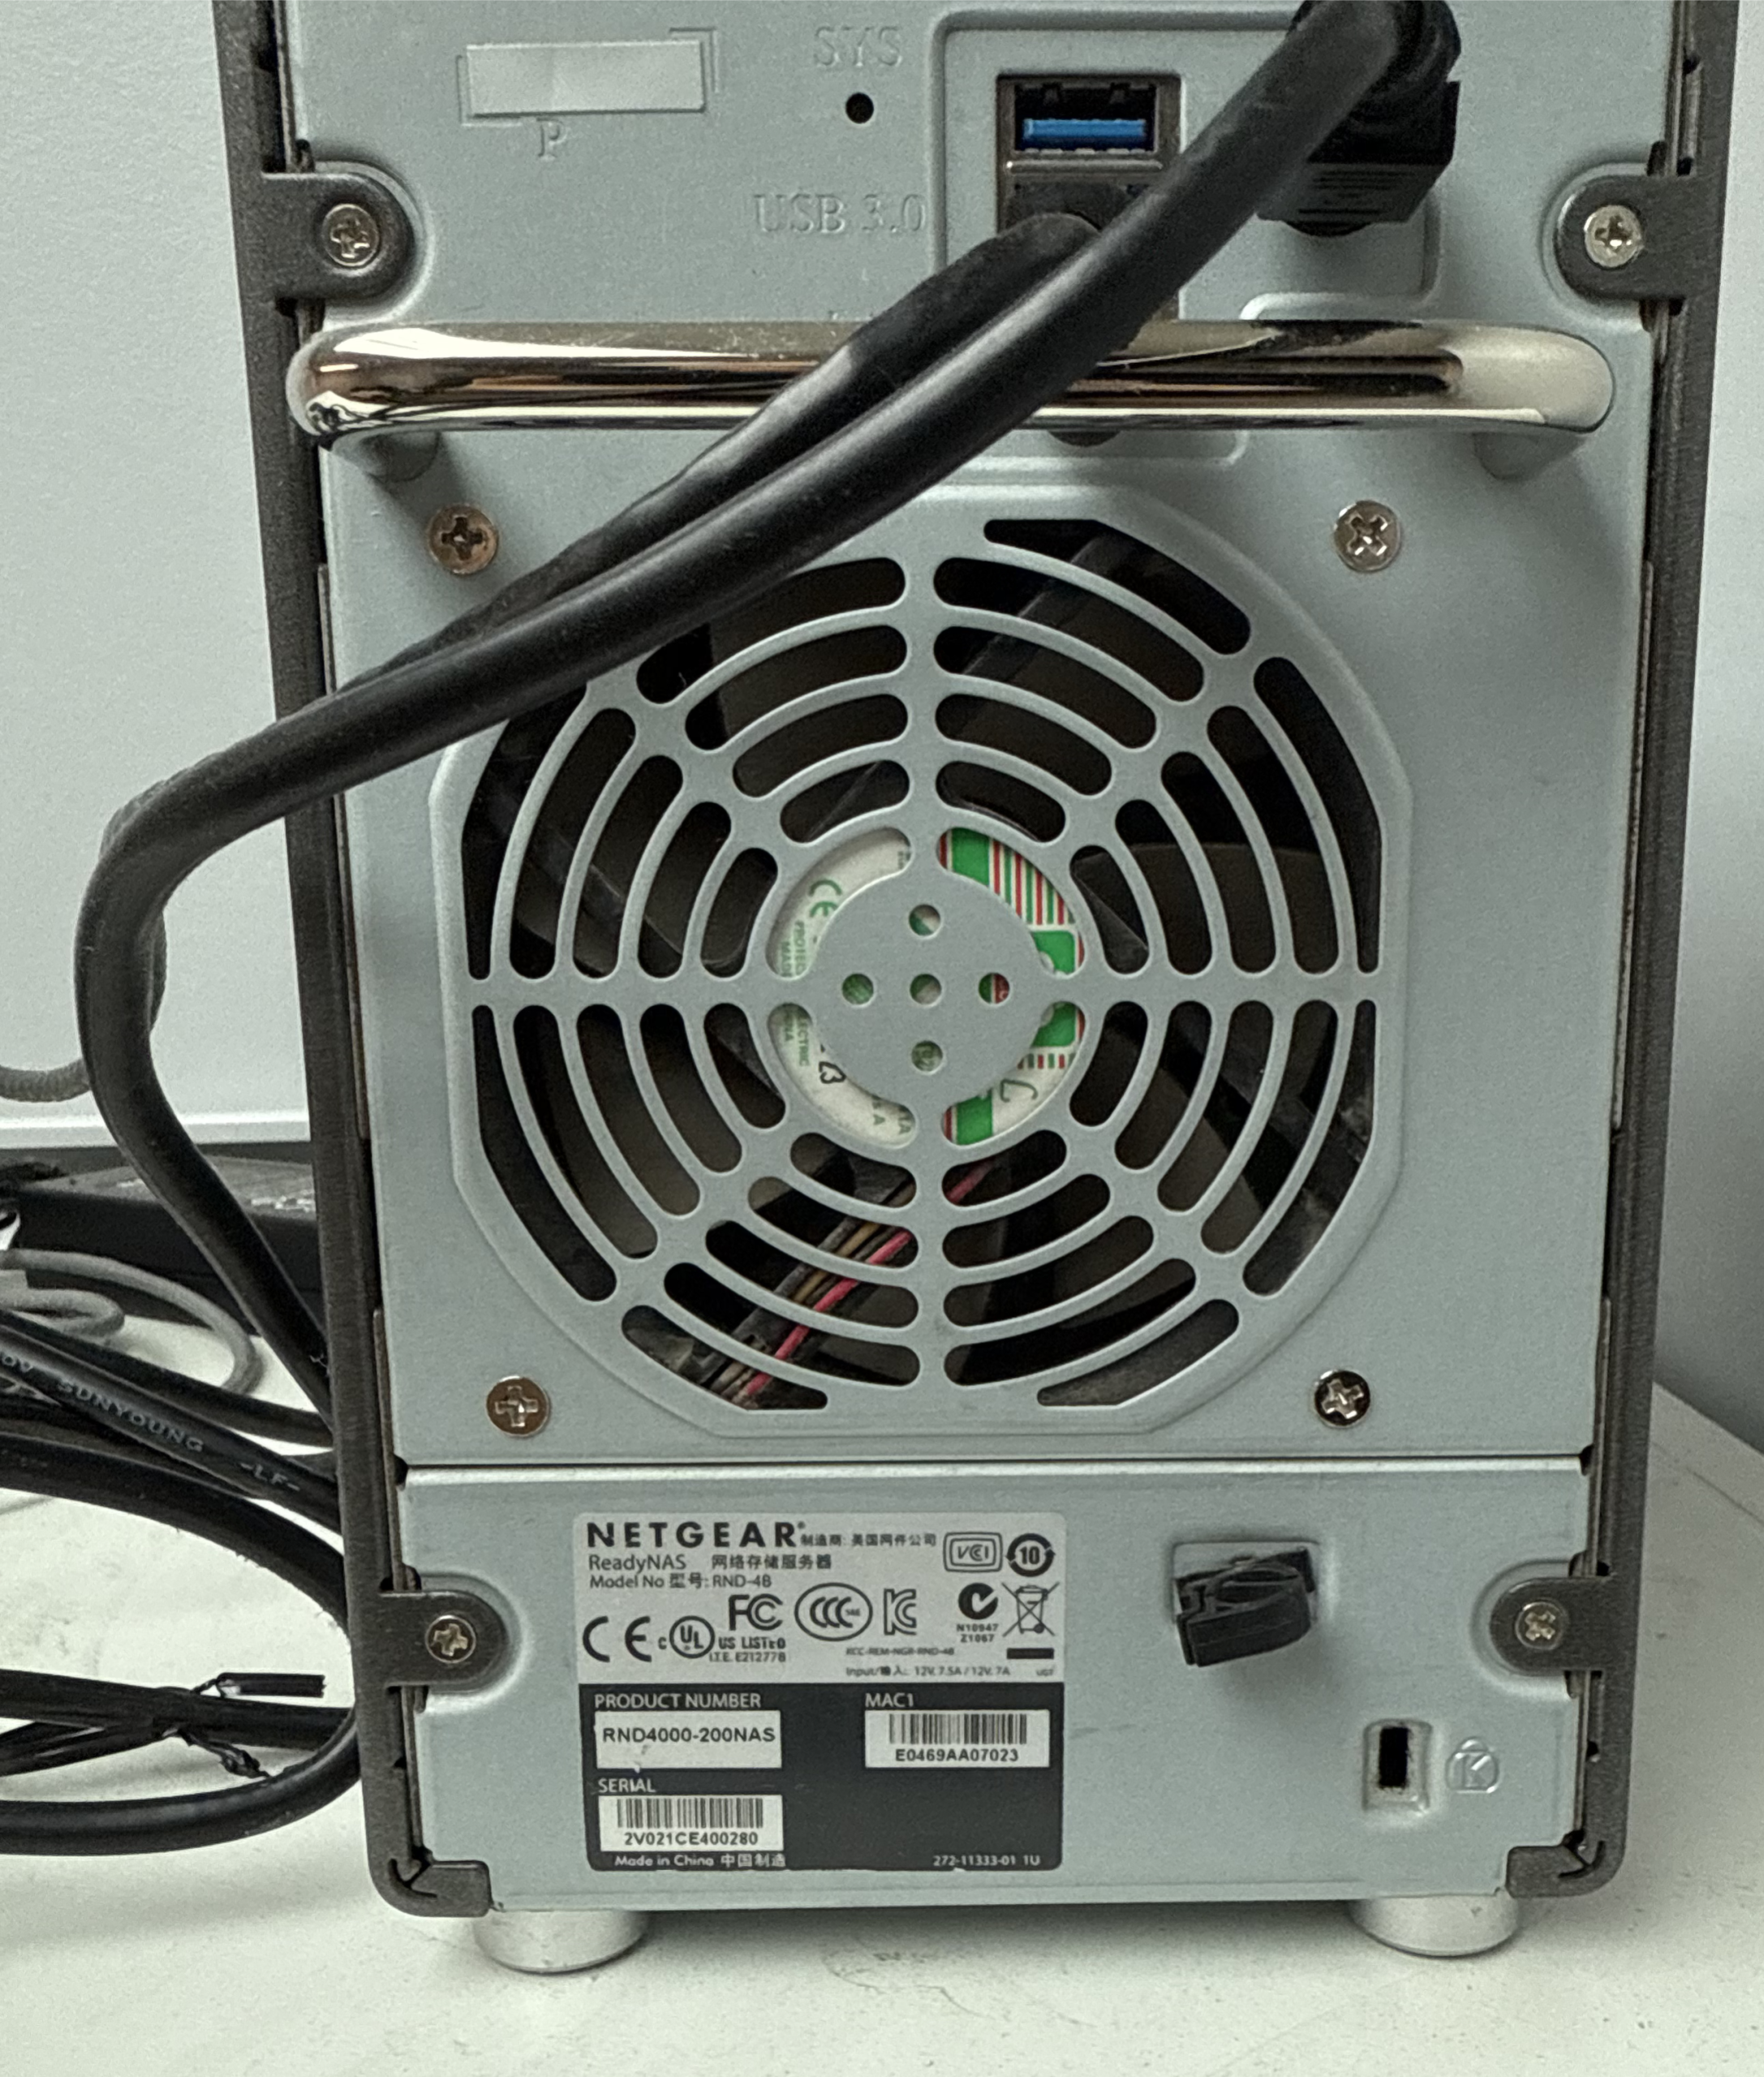
1. Power Down and Remove Drives: Turn off the ReadyNAS NV+ v2 completely. Carefully remove all four 1TB drives, labeling them by bay position (1–4) to preserve their order.
2. Connect Drives to a Linux Computer: Use SATA ports or powered USB-to-SATA adapters to attach all drives simultaneously. Do not let your OS initialize or format them if prompted.
3. RAID Controller: No special RAID card is needed. The X-RAID2 system uses standard Linux mdadm metadata. Any computer capable of detecting all drives is sufficient.
4. Read-Only Access: Always mount drives read-only to prevent accidental overwrites. If a disk shows errors, clone it first using ddrescue.
Assembling and Mounting the X-RAID2 Array on Linux
Follow these steps to reassemble and mount the RAID:
- Install Required Tools:
sudo apt install mdadm lvm2 - Identify the Drives:
Usesudo fdisk -lorlsblkto find the correct partitions (e.g./dev/sda3). - Assemble the RAID Array:
sudo mdadm --assemble --scanIf automatic assembly fails:sudo mdadm --assemble /dev/md0 /dev/sda3 /dev/sdb3 /dev/sdc3 /dev/sdd3Then check status:cat /proc/mdstat - Detect and Activate LVM Volume:
sudo vgscan sudo vgchange -a y c - Mount the Data Volume (Read-Only):
sudo mkdir /mnt/readynas_data sudo mount -o ro /dev/c/c /mnt/readynas_data - If Mount Fails (16KB Block Size Issue):
Install fuseext2 and retry:sudo apt install fuseext2 sudo fuseext2 -o ro,allow_other /dev/c/c /mnt/readynas_data
Recommended Tools
- mdadm: Core RAID management tool for Linux.
- LVM2: Manages logical volumes used by X-RAID2.
- fuseext2: Reads EXT2/3/4 with 16KB blocks safely.
- GNU ddrescue: Clone failing drives before analysis.
- TestDisk: Repairs damaged partition tables.
- R-Studio / ReclaiMe: GUI-based RAID recovery tools (optional, commercial).
Compatibility Considerations
ReadyNAS X-RAID2 arrays are Linux-compatible. However, some quirks exist:
- EXT4 filesystem with 16KB block size — not readable by default on most PCs. Use fuseext2.
- Standard little-endian layout — no special architecture required.
- Linux is required for full access; Windows cannot natively read LVM+EXT4 volumes.
- Avoid automatic disk repair or fsck until data is copied off.
Reviving the ReadyNAS for Short-Term Recovery
If you want to temporarily boot the NAS to extract data over the network:
- OS Reinstall: Boot into the ReadyNAS menu by holding reset during power-on. Choose “OS Reinstall.” It restores the firmware without erasing data.
- Skip Volume Check: If the device hangs on startup, skip the filesystem check to access the data volume quickly.
- Minimal Boot: Try booting with one drive at a time to isolate corrupted ones.
- RAIDar Utility: Detects NAS IP and state, even when web UI is inaccessible.
- USB Recovery: For firmware reflash using Netgear’s official USB image (last resort).
Safety and Best Practices
Once you gain access to the data, immediately copy it to another safe location. Never attempt to repair or expand the RAID before verifying all files are backed up.
Conclusion
The ReadyNAS NV+ v2 with X-RAID2 uses standard Linux RAID (mdadm) and LVM technologies. By connecting its drives to a Linux system, assembling the RAID, and using fuseext2 for non-standard block sizes, you can safely recover your files without needing the original NAS hardware. If the NAS boots again, treat it as temporary and migrate data to a new storage solution promptly.
SEO Keywords: ReadyNAS NV+ v2 data recovery, X-RAID2 Linux recovery, Netgear RAID reconstruction, mdadm LVM recovery, fuseext2 EXT4 mount, recover ReadyNAS drives